Menu
Call This Wednesday to Get $50 OFF
Call This Wednesday to Get $50 OFF
Call This Wednesday to Get $50 OFF
Call This Wednesday to Get $50 OFF

Installing a new faucet can be an enjoyable DIY project that brings functionality and aesthetic improvements to your…
Installing a new faucet can be an enjoyable DIY project that brings functionality and aesthetic improvements to your kitchen or bathroom. Understanding the basic concepts of faucet installation could save money over hiring professional plumbing services if the task becomes daunting. However, if things become challenging, ask for assistance from High Speed Plumbing!
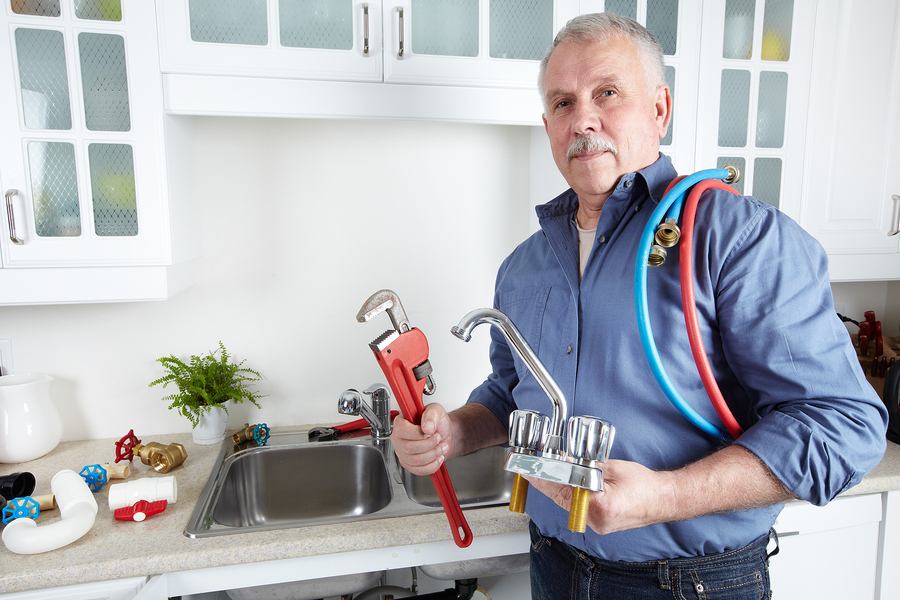
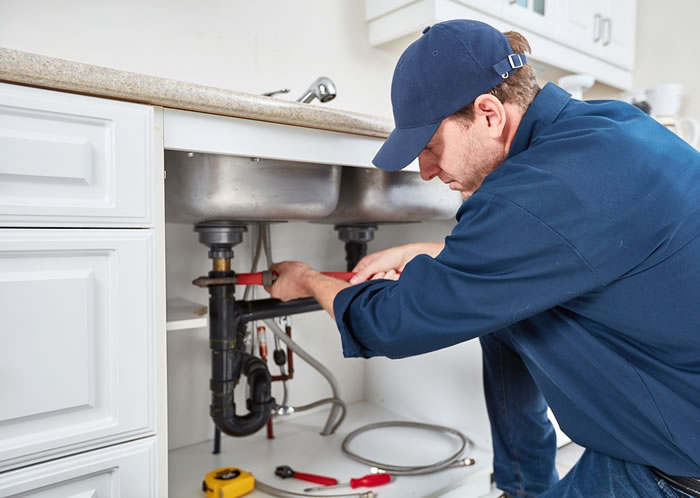
Before starting, ensure you have all the required tools and materials ready. These may include an adjustable wrench, basin wrench, plumber's tape, bucket, and possibly some plumber's putty. Also important: be sure you have your new faucet with you and any installation guides or manuals that may specify additional materials or tools needed for its proper setup.
To stay safe, locate and shut off the valves under your sink to cut off the water supply to avoid accidental overflow. After doing this, switch on the old faucet to release any leftover pressure and residual water in the lines.
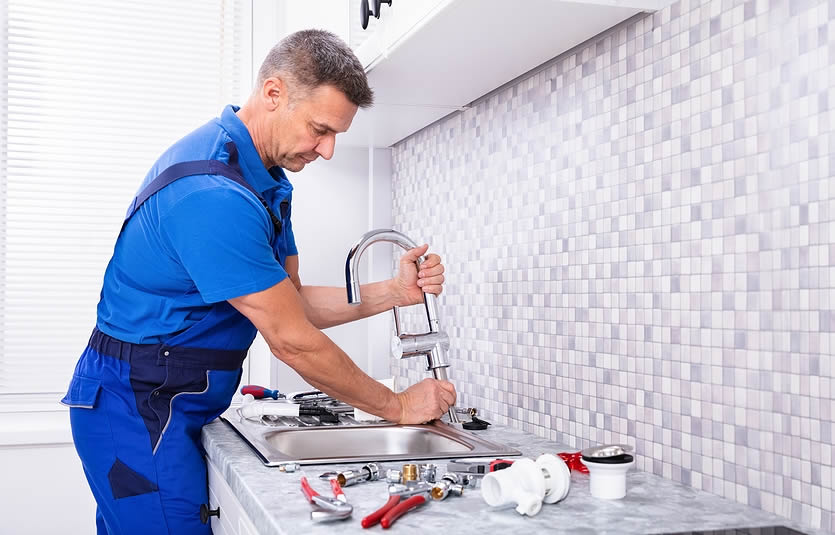
Start by setting aside a bucket to catch any water leakage while using an adjustable wrench to disconnect water supply lines from your old faucet. Be prepared for some to seep out, then loosen and remove all nuts, holding them securely before gently lifting your old one.
To ensure an attractive and professional installation of your new faucet, carefully clean out where its predecessor once resided. Scrape away old sealant or putty from under it as well. Wipe away debris before wiping all surfaces with fresh, soapy water to finish this step.
Now is the time to put in your new faucet! If necessary, apply the plumber's putty or gasket according to its installation guide before feeding its lines through their respective holes in your sink and tighten any washers or nuts provided with your new fixture - being mindful not to overtighten as overdoing could damage both sinks and fixture!
If you're hearing a rumbling sound from your basement, don't ignore it. At High Speed Plumbing, we've seen everything from thermostat…
Running out of hot water at your business can mean angry customers, health code violations, or a full operational shutdown. Restaurants,…
Are you dealing with a leaky faucet, low water pressure, or a broken handle? If so, you might need a faucet…
A properly working garbage disposal makes kitchen cleanup easy and efficient. If your disposal is acting up—making loud noises, leaking, or…
When your main water line has a problem, it can cause a lot of trouble for your home. Leaks, low water…
Are you dealing with an old, leaky, or broken toilet? If so, it may be time for a toilet replacement in…
If you’re concerned about the quality of your water, water filtration installation in Pomona is a wise choice. A good filter…
Traditional snaking or chemical drain cleaners can harm pipes and aren’t always effective at reaching deep blockages…
Now that the new faucet has been installed reconnect its water supply lines using the plumber's tape on threaded connections for improved sealing and leak prevention. Tighten both hands and wrench tight until snug; be wary not to over-tighten, as this could damage pipes in future installations.
Once everything has been properly connected, carefully restart your water source. Check all connections - both faucet and supply lines connecting to valves - carefully for leaks; open any faucet to relieve air in the line while opening all faucets to let air out before checking all connections at the faucet and where supply lines connect to valves; any minor dripping should be addressed as soon as possible to prevent future complications.
As you complete each final touch and cleanup procedure for the faucet installation, ensure it runs smoothly with all handles properly aligned. Clear any debris or tools from underneath your sink before wiping down its shiny new appearance to give a polished appearance to your new addition.
Installing a faucet yourself can be accomplished easily with the necessary tools and patience. While DIY projects can be satisfying, professional assistance from High Speed Plumbing might be beneficial when encountering unexpected challenges while installing your new fixture. Proper installation ensures your new faucet functions effectively while looking beautiful in any space.

.webp)